Showing posts with label Project Restyle. Show all posts

Wednesday, October 19, 2011

DIY - Tshirt to Scarf

I made this tank from Tshirt knit a few weeks ago but the darts pulled in a funny way at the neckline so I never wore it. During a recent purging I came across it again and remembered why I had purchased the fabric in the first place. It is very light, soft and vibrant and I couldn't throw it out.  I immediately set to Pinterest for some good stashbusting ideas! A scarf seemed the easiest and quickest route to a Refashion and PS I Made This had the perfect tutorial.


I wanted to spice up the fringe a little bit so I decided to dip-dye the edge of the scarf in bleach. Here's some photos of the process in my kitchen...


I soaked the bleach for probably 3 minutes to make sure it got around every fold then hung it from a cabinet for an hour or so.  The bleach soaked its way up and made the stripe a little wider than I planned but I love it. I rinsed the bleach off and laid it hanging over a table to dry overnight.  The bleached edge turned a nice silver color and looked great when the fringe was cut and stretched. Here are photos of it on my mannequin (also with my work in progress sweater). The 2nd photo actually creeps me out for some reason.


I have a few more Tshirts I'm prepares to slice up for this project. Have I mentioned that I have a severe addiction to scarves? You might be seeing a lot of them this Fall :)

Thursday, August 18, 2011

DIY - Rustic Spoon Pendant

Finally, the last of the July Pinterest DIY's (you didn't get to see my messed up maxi dress...it's already been recycled into another project don't worry).  And now I can finally focus on the August projects!

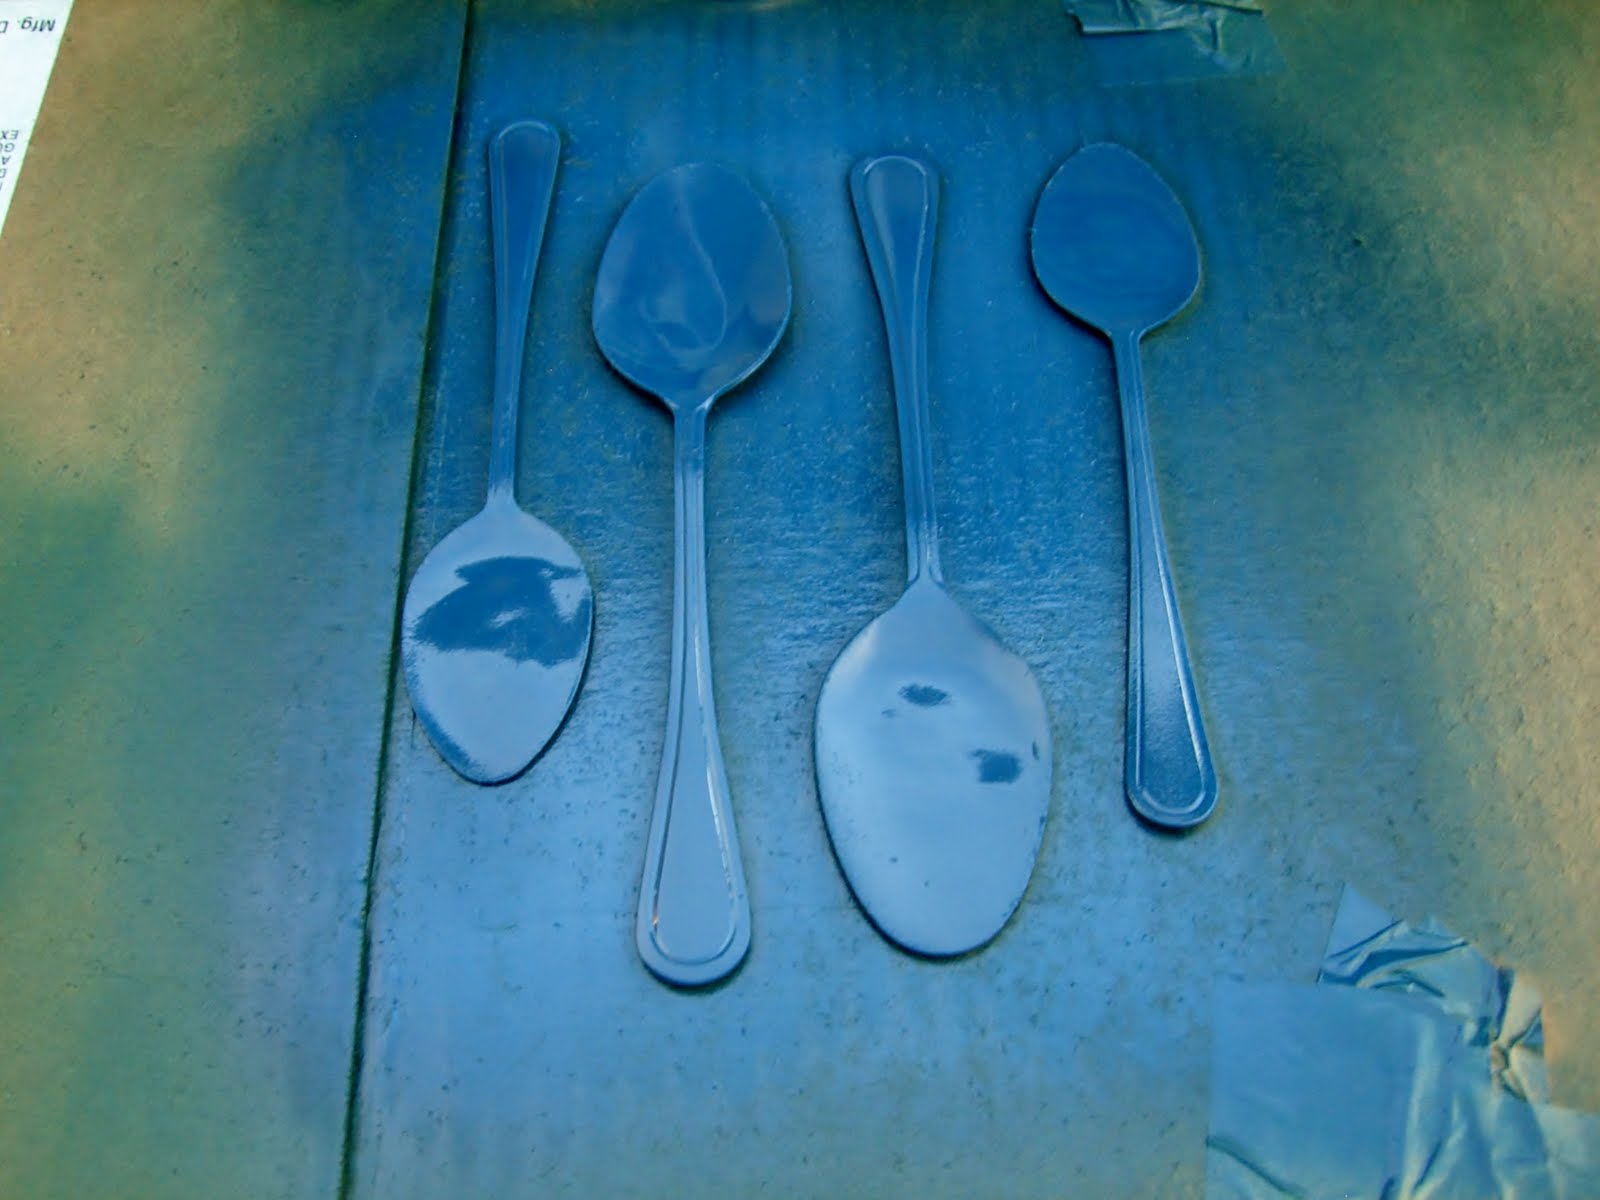
I loved the look Dorian from Busily Spinning Momma created with her Rustic Spoon Pendant Necklace but I wanted to do something other than another jewelry DIY. I decided to merge this tutorial with another...This is Creatively Christy's Colored Spoons Tutorial. I love how the curves and designs are still visible through the paint. I decided to paint mine blue for my kitchen. Not because we have any blue decorations or towels - I actually have no decor in there - but because mine and Matt's aprons are dark blue and the spoons would be near them. I used the spray paint that I bought last year for my picture frame project...which I'm not sure I ever shared on here, so that might be a good post for later.

Step one - Start hammering the hell out of some spoons.  I got 2 pairs of spoons, large and small, from the dollar tree. It was actually really difficult to get the spoons to flatten so they're definitely not perfect.The edges are also pretty rough but I figured the paint would cover that up.

PS this did a number on our back patio...Don't look Matt. 

Step two - I quickly washed and dried the spoons to remove any dust (concrete) and laid them out on cardboard to paint. I did two light coats of the blue, letting the spoons dry for a few minutes in between and 15 minutes after. I love the color!!

 Step three - I used 3M sticky squares to adhere the spoons to the wall. I measured the middle of this slice of wall but didn't really measure between the spoons. I didn't mind if they were a little random and luckily they came out spaced pretty nicely. If they start to bother me or the boyfriend, the stickies are easy to pull off and replace.


These are great tutorials and made for a fun jumping off point for my new home decor project. If you have some frustrations you need to get out I definitely recommend hammering out some spoons to stick around your kitchen. I wonder if forks  would look as nice....maybe a knife (the flattening's done for you!)...


Friday, July 29, 2011

Guest Post at Tera Sue


Check out my newest thrift store restyles over at Tera Sue's blog today :D


Wednesday, July 27, 2011

DIY - Skirt Restyle (100th Post!!!)


I found this skirt at the Salvation Army for a great price of $3!! I LOVE any kind of abstract/tribal print so even though it is 2 sizes too large for me I grabbed it. The colors are vibrant and the fabric has a little stretch to it. Definitely not a natural fiber but I'll overlook that for this print.  I did wear the skirt to work one day just to make sure I didn't want to keep it as is. Yeah, that shape is not flattering on me. I was ready to cut it up!


This is a mini skirt I bought at Cotton On a few weeks ago. I am obsessed with it and wear it every weekend. I especially love the oversized front pockets. So I drew out the skirt (yellow paper) and measured every seam length. I transfered this to a paper pattern. It was releatively simple since everything (except the pockets) is a straight line, so I didn't have to actually trace the skirt. *When I get a moment, I'll show you clearer photos of the pattern in case you want to attempt this particular skirt.*


The next step was to measure how much fabric there actually was in this skirt. Roughly 4 feet thanks to all those pleats :)  I cut the waistband off, separating the outer fabric from the teal lining (that I really should use for another skirt!).  I then Ironed the pleats out of my thrifted fabric.


Now that the fabric is nice and pressed, I cut out each pattern piece (2 front/backs, 4 sides, 2 pockets). I had just enough fabric and I was really hoping I didn't mess up and this point. I left the hem of the original skirt to save me some time, and it really helped figure out top and bottom once the pieces were cut out.  I used a scrap of fabric as make-shift bias tape for the top of the pockets. I LOVE how this came out. Then sandwiched the pocket between the front and side front, pinning then sewing.


Here's a clearer photo of the sandwiching. Don't forget to sew the bottom of the pockets closed! Pin and sew the back to the side back pieces. Finally, sew the back to the front at the side seams. Press all seams as you're sewing, this makes for cleaner lines and less mistakes because you're not rushing through every seam.  I also did a serged seam finish down each seam in case the mystery fabric decided to fray next time I washed it.


Here's the skirt in its 2D state, all sewn together. Let's take one more look at those awesome pockets! I cut a piece of 2" wide elastic (mostly because I ran out of fabric and couldn't make a waistband) that seemed like a good fit around my waist/hips/where ever I decide to wear the skirt. I measure the waistband in quarters and mark with pins. This helps when stretching and sewing as I can line up the next pin with the side seam or center-front of the skirt. Press your gathers down and you have a beautiful mini skirt with beautiful pockets and a super comfy waistband!


PS This was my 100th Post and I am so excited to have been doing this for a year! I hope you enjoy all my rambling and whining and sometimes good content! :D

Tuesday, April 26, 2011

DIY - Vintage Bracelet Re-Do

I'm finally getting around to using all those great vintage jewelry pieces from my several trips to the flea market. See more like this in the near future...I'm still brainstorming. These will also all be available in my Etsy store eventually.

Saturday, March 26, 2011

Sharing - But Jessi Where Have You Been?

Sneak Peak: (may or may not be in my PJs)

I have a big project coming up to update my store. Hopefully I'll have some pictures up tomorrow but right now I'm in a sewing frenzy!

Today I did a Tshirt re-fashion inspired by A Pretty Penny's Plain White Tee tutorial.


I didn't take a before photos but I got this tee at Joann's for $3.99. (stock photo form their website)

I HATE crew-necks and I HATE the long sleeves that are always on adult size tees. I didn't take photos of these steps either because I was rushing. Oops! So I cut the neckline to a low scoop and cut 2" off the bottom hem. I used the hem I cut off as the ribbing at the neckline. I also rolled up the sleeves and stitched them down in a permanent cuff.

Now the fun part!
I ripped painters tape in rough strips and taped down a few stripes at the shoulders and at the bust. I planned on wearing this with skirts so I wanted to put the stripes at the top, but I will definitely make another variation with blouse restyle.


I used a hot pink that is sadly closer to the shirt color than I had expected. But in the light (especially the sun) the color pops just enough to make me smile.

Monday, January 10, 2011

DIY - Happy New Year!

There are a lot of projects in the works for the beginning of the New Year. Maybe I’m a little too ambitious this month but I guess we’ll see how far I get. The biggest project I’ve started on is Project Restyle, hosted by A Beautiful Mess and Smile and Wave.

How it works – Take used or unwanted items and turn them into something new! You can restyle, repurpose or transform things you have collected and are just lying around. Check out the Flickr group for a slideshow of inspiration.

So far for Project Restyle I’ve done a sweater a la Grosgrain (check out the tutorial here)


A Tshirt necklace with a flower pendant


And I submitted my Ikea table just to be different!


Look What I Did –

I tried out this Ruffle Necklace from Poppy Chic.

Tutorial – Ruffle Necklace by Poppy Chic
Ease – 4/5
Difficulties – Gathering 30" of fabric without the threads snapping. I also used a pretty cheap chain that broke twice while stringing it through the casing.
Alterations - I macahine basted the casing because I was too tired to hand stitch at the time. This is probably why it was hard to gather the fabric.
Make it again? – I love the fan that the gathers fabric creates. This is very simple but definitely stands out. I would make this again with a chiffon fabric for a lighter fan.